
How to Insulate a Finished Basement Without Tearing Down Walls
Insulating your basement is one of the most effective ways to improve energy efficiency, enhance comfort, and reduce utility costs in your home. However, if your basement is already finished, the thought of tearing down walls to add insulation can be daunting. Fortunately, there are ways to insulate a finished basement without the need for major demolition. This guide will walk you through the process, offering practical solutions to insulate your basement without disrupting your existing setup.
Why Insulate Your Finished Basement?
Before diving into the how-to, it’s important to understand why basement insulation is so crucial. Basements are typically one of the most thermally inefficient areas of a home, often leading to significant heat loss in the winter and excessive heat gain in the summer. Proper insulation helps regulate the temperature, reduces moisture problems, and can even improve indoor air quality by preventing mold growth.
Step 1: Assess Your Current Insulation
The first step in insulating a finished basement is to assess what’s already in place. You may have some insulation behind the walls, but it might not be sufficient or the right type for your needs. To check, you can:
- Drill Small Inspection Holes: Drill small holes in inconspicuous areas of your wall to inspect the existing insulation with a borescope. This will give you a better understanding of the current situation without causing significant damage.
- Thermal Imaging: Use a thermal imaging camera to detect cold spots in your walls. This non-invasive method helps identify areas that lack insulation or where insulation has settled over time.
Step 2: Consider Insulation Options for Finished Basements
Once you know what you’re working with, it’s time to choose the best insulation method for your finished basement. Here are some effective options:
- Injection Foam Insulation:
- What It Is: Injection foam is a liquid foam insulation that can be injected into the wall cavities through small holes drilled into the drywall.
- Benefits: It expands and fills the entire cavity, providing excellent thermal insulation and sealing air leaks.
- Installation: A professional will drill small holes, inject the foam, and then patch and repaint the holes, leaving the walls intact.
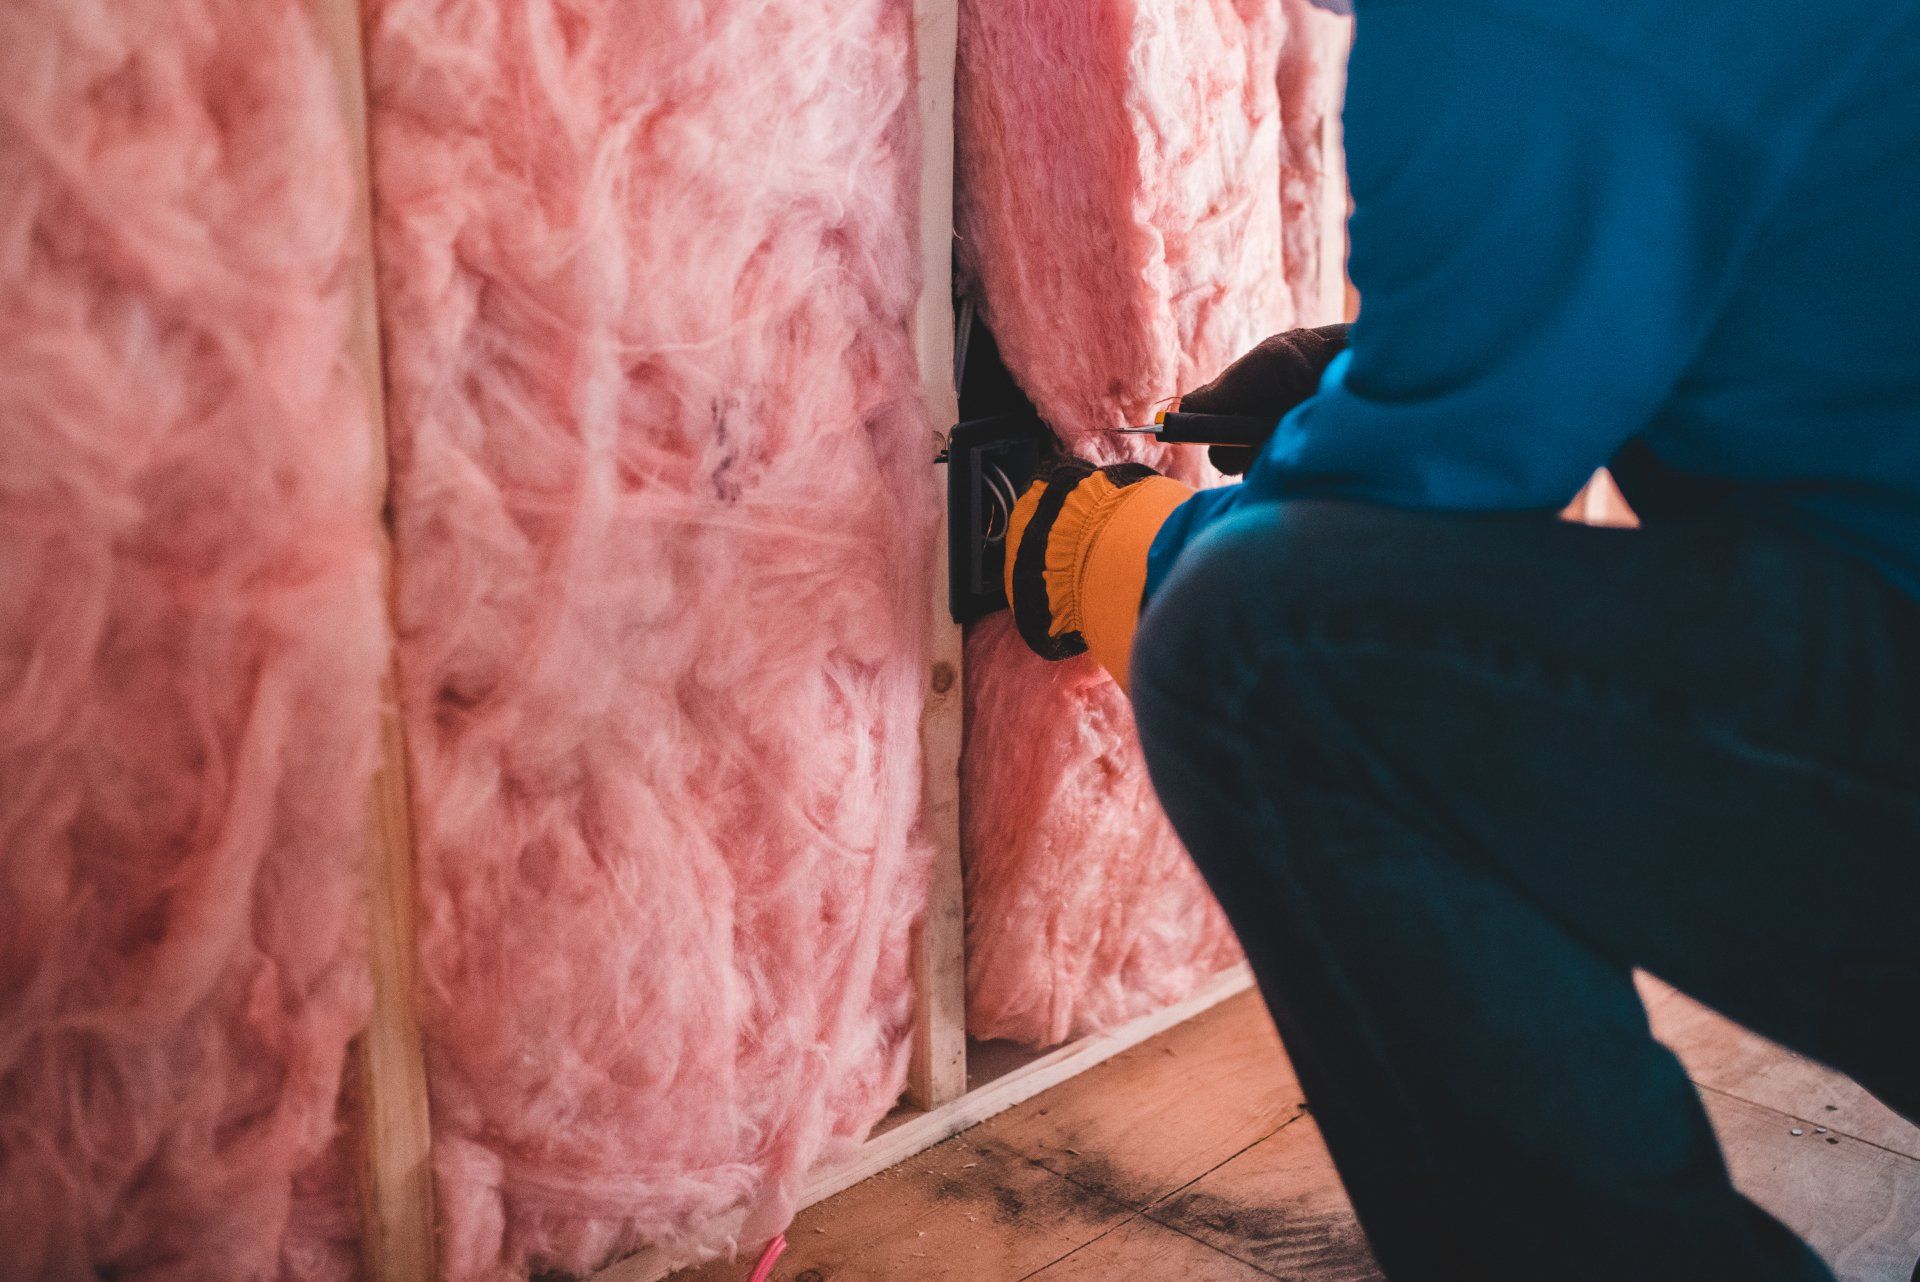
- Blown-In Cellulose Insulation:
- What It Is: Blown-in cellulose is made from recycled paper and treated with fire retardants. It’s an eco-friendly option that can be blown into wall cavities.
- Benefits: It’s effective at insulating irregularly shaped spaces and provides good soundproofing.
- Installation: Similar to injection foam, cellulose is blown into the wall through small holes, which are then patched.
- Rigid Foam Insulation Panels:
- What It Is: Rigid foam panels can be attached directly to the existing walls without tearing them down.
- Benefits: They offer excellent moisture resistance and high R-values (a measure of insulation effectiveness).
- Installation: The panels are cut to size and glued or nailed to the walls. You can then cover them with drywall or other finishes for a seamless look.
- Insulated Wall Coverings:
- What It Is: These are wall coverings that have built-in insulation, such as insulated wallpaper or wall panels.
- Benefits: They add an extra layer of insulation while enhancing the aesthetic appeal of the basement.
- Installation: Simply apply the insulated covering over your existing walls.
Step 3: Seal Air Leaks and Gaps
Before adding insulation, it’s essential to seal any air leaks in your basement. Common areas where air leaks occur include:
- Around Windows and Doors: Use caulk or weatherstripping to seal gaps around basement windows and doors.
- Electrical Outlets and Switches: Install foam gaskets behind electrical outlets and switch plates to reduce drafts.
- Pipes and Vents: Use expanding foam or caulk to seal gaps around pipes, vents, and other penetrations in the walls.
Sealing these leaks will maximize the effectiveness of your insulation and help maintain a consistent temperature in your basement.
Step 4: Address Moisture Issues
Moisture is a common problem in basements and can reduce the effectiveness of insulation and lead to mold growth. Before insulating, make sure to:
- Install a Vapor Barrier: If you’re using a method like rigid foam panels, consider adding a vapor barrier to prevent moisture from getting trapped in the walls.
- Fix Any Leaks: Address any water leaks or drainage issues to prevent moisture from entering your basement.
- Use a Dehumidifier: Keep a dehumidifier in your basement to control humidity levels and prevent moisture buildup.
Step 5: Finish with the Right Wall Treatment
After insulating, you’ll need to finish your walls to restore their appearance. Options include:
- Drywall: Cover the insulated areas with drywall for a smooth, clean finish.
- Paneling: If you prefer a different look, consider using wood paneling or other decorative wall coverings.
- Paint or Wallpaper: Once the walls are finished, you can paint or wallpaper them to match your basement’s decor.
Conclusion
Insulating a finished basement without tearing down walls is not only possible but also highly effective in improving your home’s energy efficiency and comfort. By choosing the right insulation method, sealing air leaks, addressing moisture issues, and finishing your walls properly, you can achieve a well-insulated basement without the need for major renovations. Whether you opt for injection foam, blown-in cellulose, or rigid foam panels, the key is to work with a professional to ensure the job is done correctly and efficiently.
If you’re considering insulating your finished basement, Basement Renovations London is here to help. Contact us today for expert advice and professional installation services that will keep your basement warm, dry, and comfortable for years to come.
You might also like